
In this tutorial we will be making a 3 column blogspot template based on a two column originally designed by Douglas Bowman you can see it here so i recommend you create a new blog for this tutorial using the following template

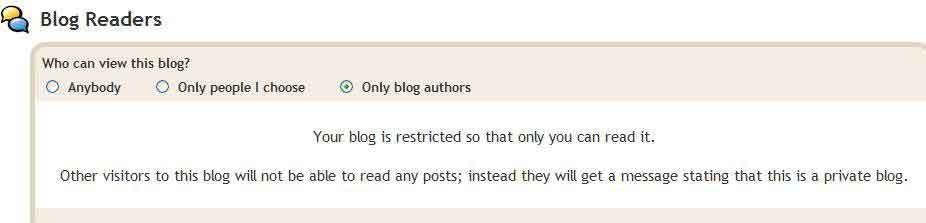
now we have our template lets go to the settings tab and change blog permissions and restrict it so only authors can see it as we dont want anyone viewing it while we are coding or do you ? well you choose

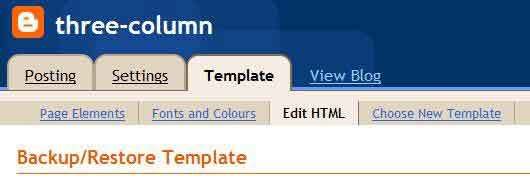
Now it's time to get our hand's dirty working with the code so go to the edit html tab as shown below they will be no need to backup your template if you have created a new blog like i said

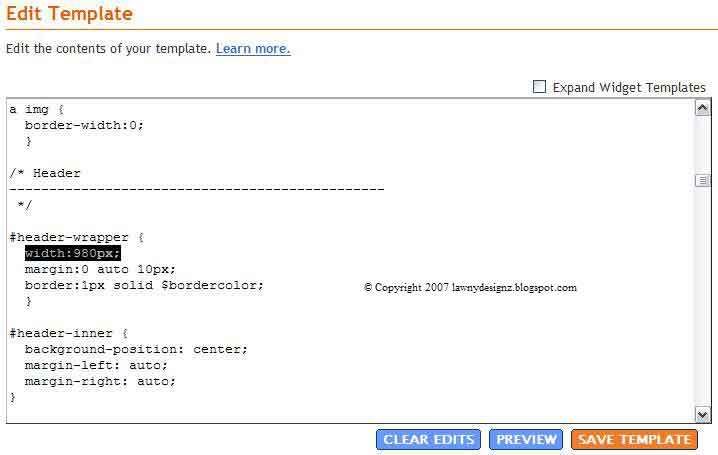
first we need to expand the width of the outer-wrapper so we can fit our new column in so find the following CSS code

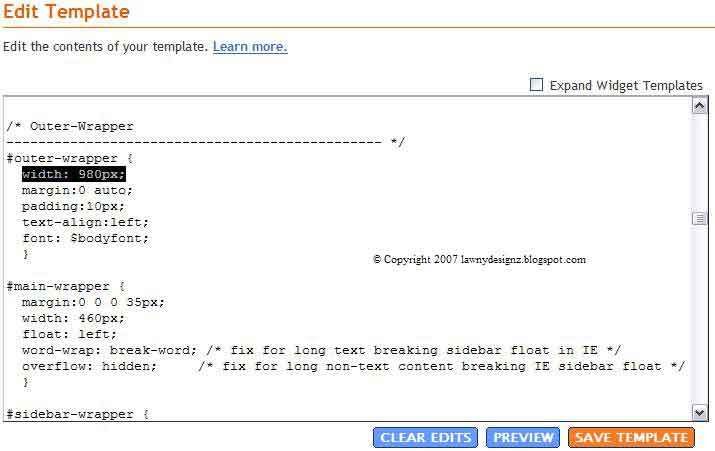
and change the width from 660px to 980px like i have done below

do the same for the header like i have below unless you want your blogs header to stay the same width which is 660px

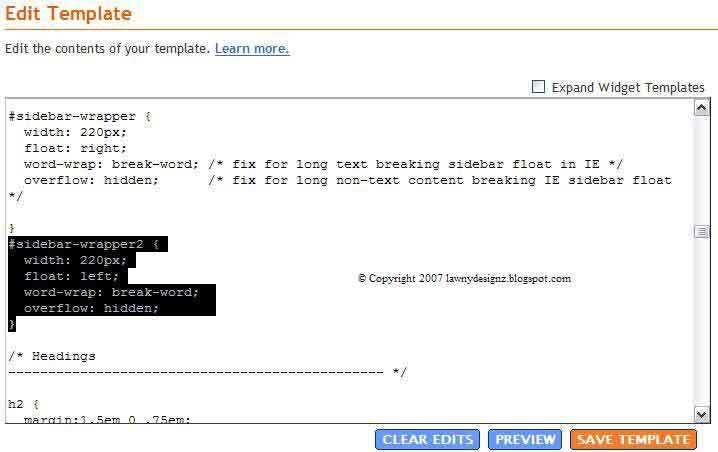
now copy the following CSS code
and add it to your template like i have done below

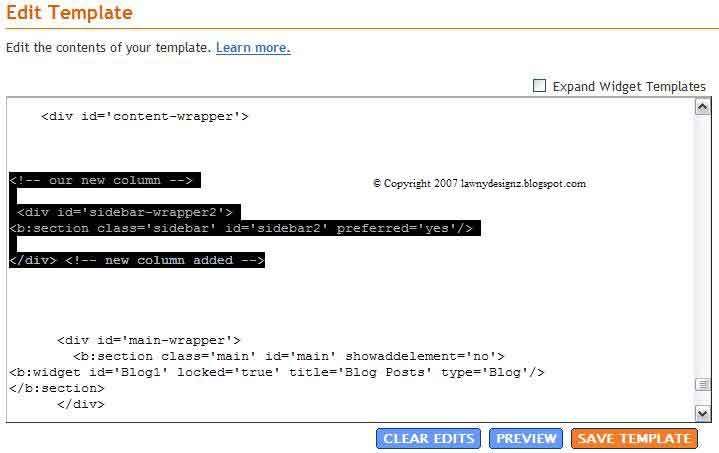
now we will add the XHTML code for the new column so copy the following code
and paste it like i have done below in between the content-wrapper and the main-wrapper

now we add a margin to the left of the main-wrapper like i have done below so it pushes the main post into about the center of the page also i have adjust the width of the main-wrapper from 410px to 460px

if you would like to center your blog description remove the

now we need to add this final bit of code and we are done

save your template if you followed this tutorial right you should see this on your page elements tab

now you have a 3 column template see mine live HERE and dont forget to comment if it worked for you i hope you enjoyed this tutorial
Update:
The template is avaliable for download for those who got stuck on the tutorial this is only for reference if you intend to use it on your blog the template has only got the default 3 widgets installed which are followers, archive and the profile widgets in it so if you upload it to your blog with more than 3 widgets in they will be deleted Download Here

now we have our template lets go to the settings tab and change blog permissions and restrict it so only authors can see it as we dont want anyone viewing it while we are coding or do you ? well you choose
Now it's time to get our hand's dirty working with the code so go to the edit html tab as shown below they will be no need to backup your template if you have created a new blog like i said
first we need to expand the width of the outer-wrapper so we can fit our new column in so find the following CSS code
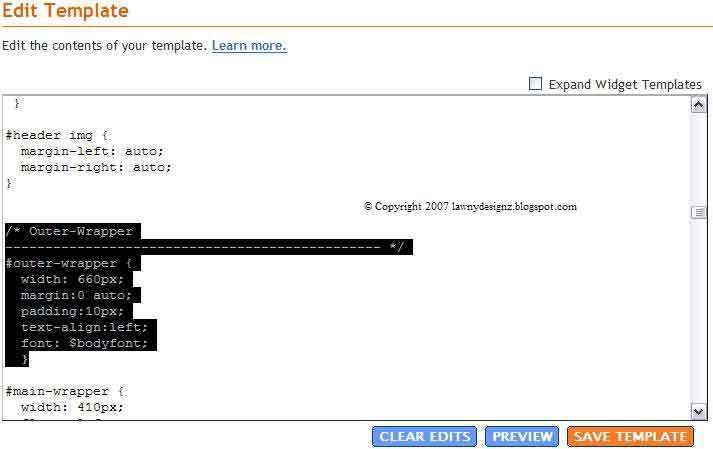
and change the width from 660px to 980px like i have done below
do the same for the header like i have below unless you want your blogs header to stay the same width which is 660px
now copy the following CSS code
#sidebar-wrapper2 {

width: 220px;

float: left;

word-wrap: break-word;

overflow: hidden;

}
and add it to your template like i have done below
now we will add the XHTML code for the new column so copy the following code
and paste it like i have done below in between the content-wrapper and the main-wrapper
now we add a margin to the left of the main-wrapper like i have done below so it pushes the main post into about the center of the page also i have adjust the width of the main-wrapper from 410px to 460px

if you would like to center your blog description remove the
max-width:700px; from the CSS code within the description class see screenshot belownow we need to add this final bit of code and we are done
/* tweaks for wireframe */

body#layout *{margin:0;padding:0;}

body#layout,body#layout #outer-wrapper{width:750px;}

body#layout #main-wrapper{width:40%;}

save your template if you followed this tutorial right you should see this on your page elements tab

now you have a 3 column template see mine live HERE and dont forget to comment if it worked for you i hope you enjoyed this tutorial
Update:
The template is avaliable for download for those who got stuck on the tutorial this is only for reference if you intend to use it on your blog the template has only got the default 3 widgets installed which are followers, archive and the profile widgets in it so if you upload it to your blog with more than 3 widgets in they will be deleted Download Here


0 comments:
Post a Comment